Repair and diagnostic of electronic circuit board Circuit Diagram The Importance of PCB Mapping in PCB Troubleshooting A typical PCB board consists of a network of copper traces and insulators that connect clusters of components in a circuit board. One of the reasons why some PCBs are easy to troubleshoot than others is the availability of the PCB's schematic. One of the simplest methods to diagnose PCB problems is using 2 same printed circuit boards. However, this method is only feasible if two identical PCBs are available. The following are the steps involved in this process: Compare the 2 printed circuit boards visually to identify any noticeable problems like misplaced components or burn marks.
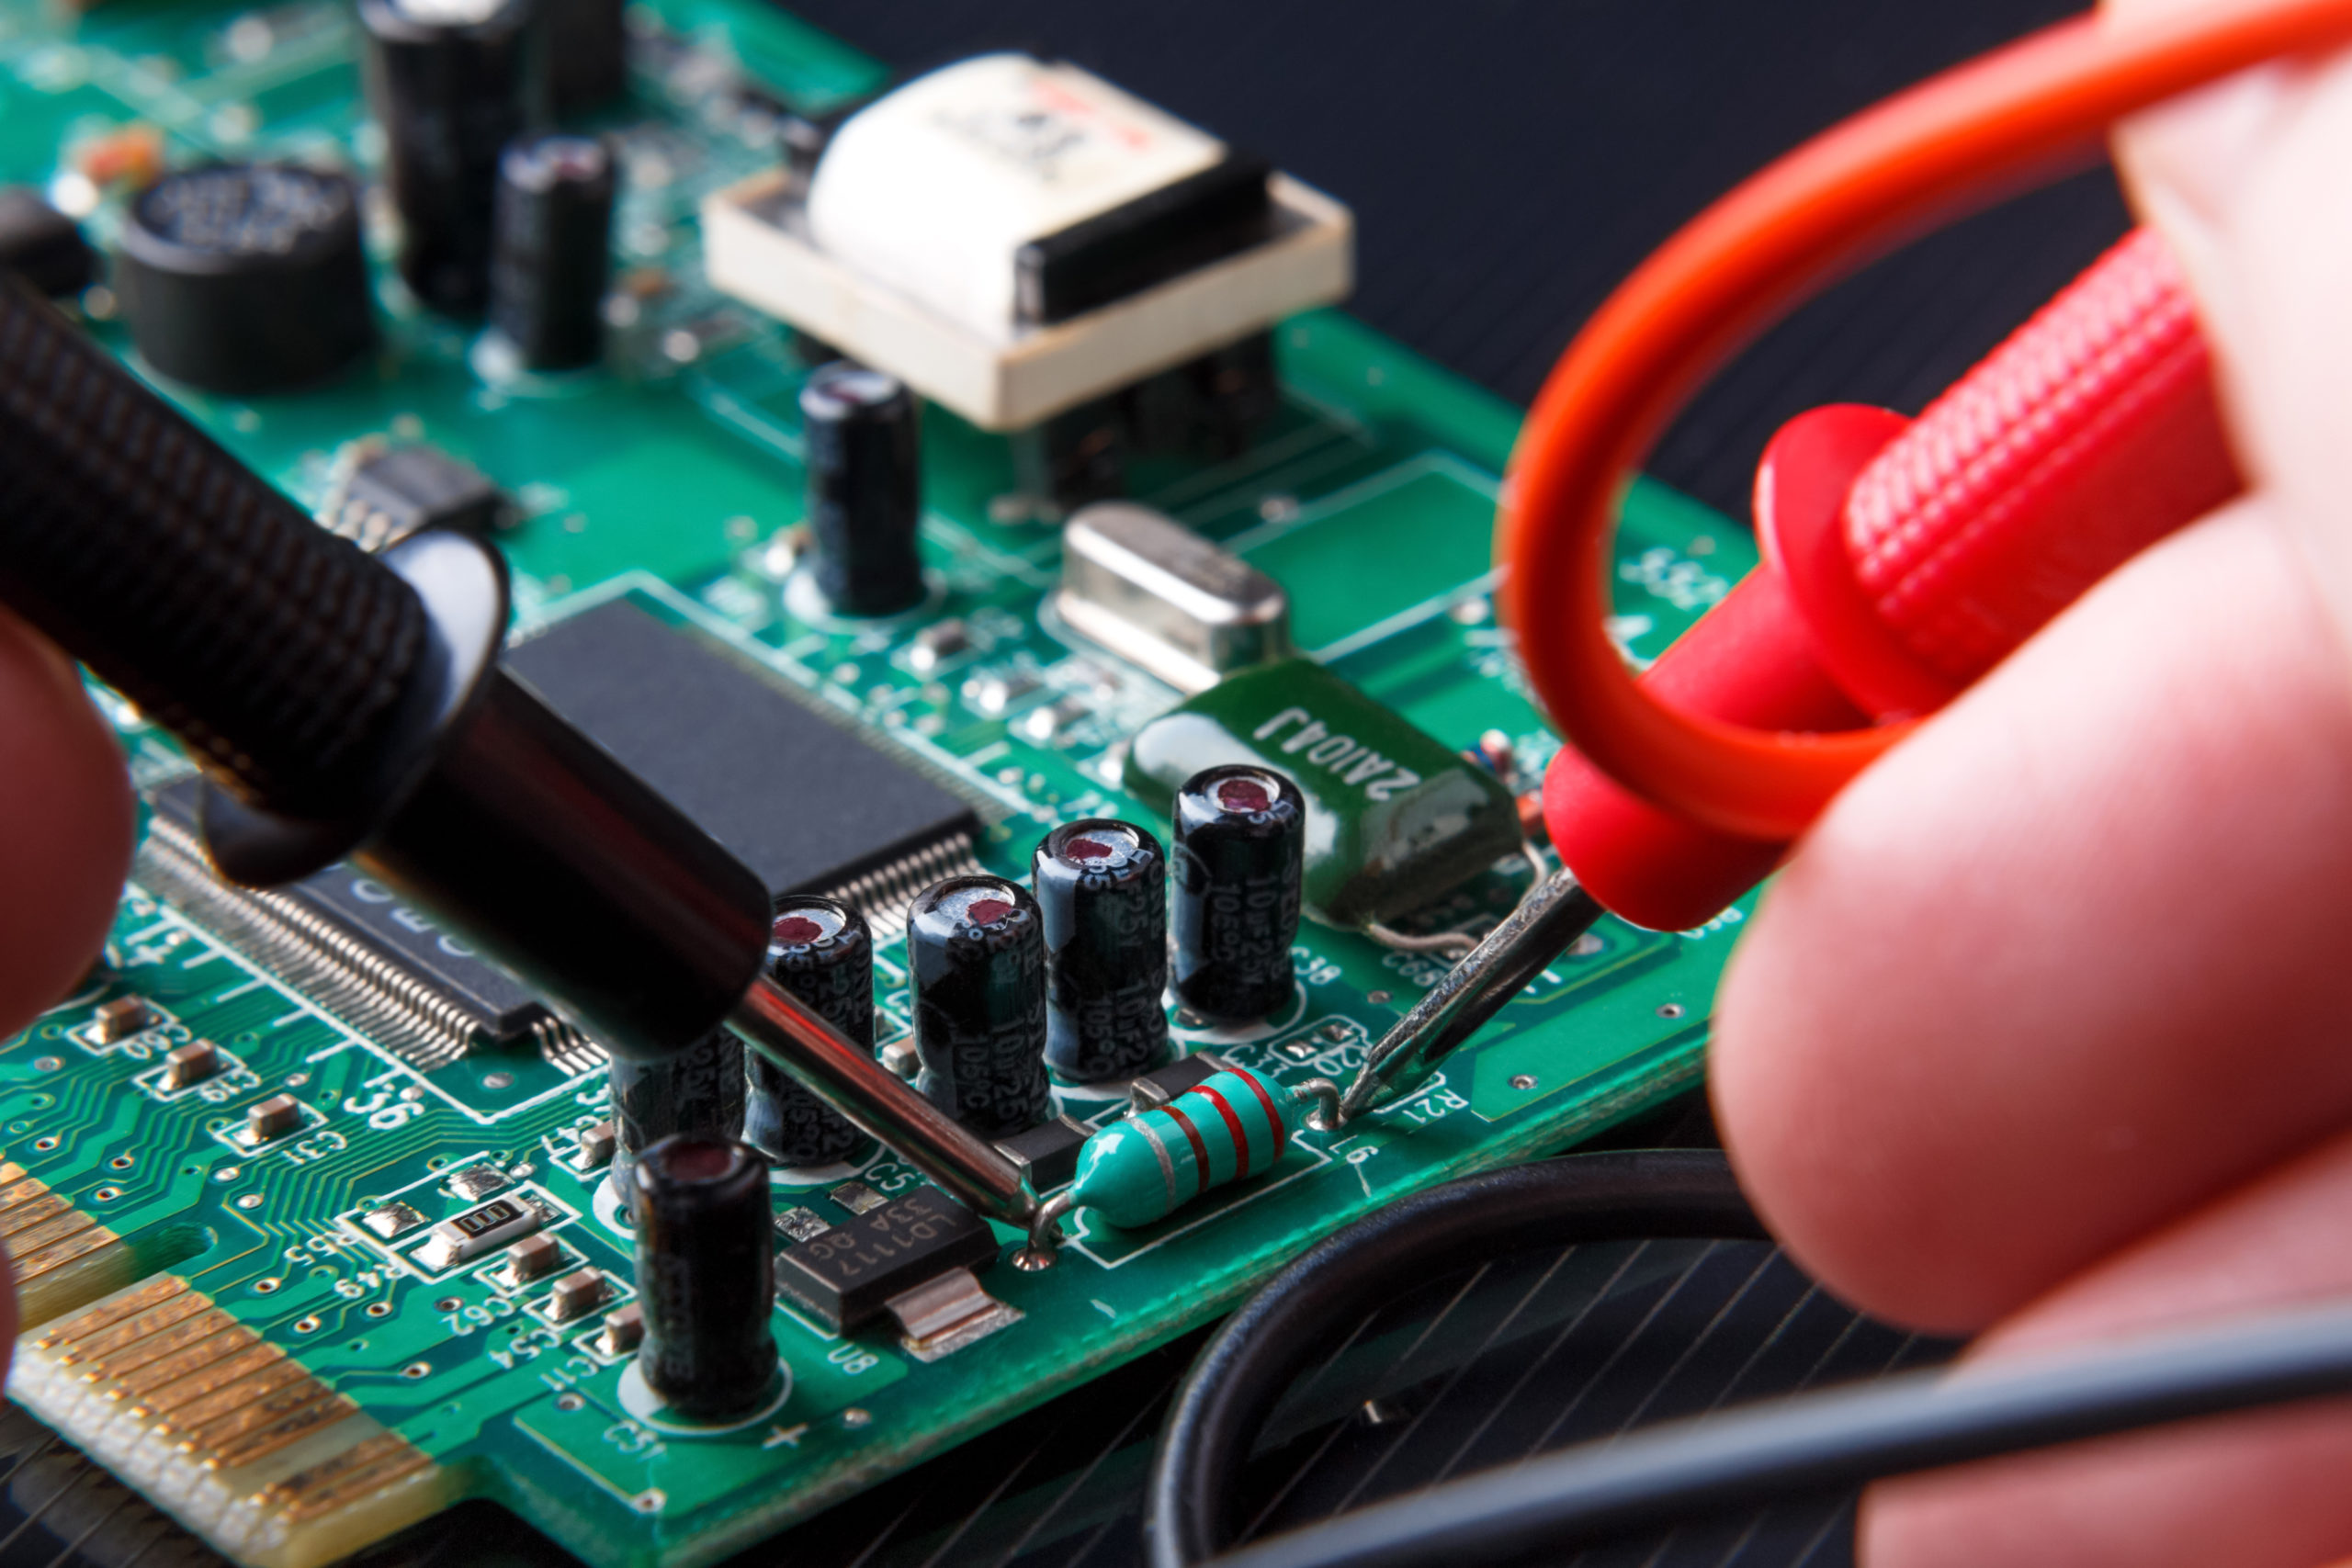
Printed Circuit Boards are the foundation of virtually every modern electronic device. Given their importance, even a minor malfunction can cause an entire system to fail. When a PCB fails, whether due to manufacturing defects, aging components, or external damage, troubleshooting becomes essential. PCB troubleshooting can seem daunting Visual Inspection & Tracking: Start by visually inspecting the PCB for any obvious defects such as burns, breaks, or misplaced components. Checking Solder Joints: Examine the solder joints for proper connection and possible defects. Checking Integrated Circuits (ICs): Verify the functionality and condition of integrated circuits on the PCB. Tracking problems: Identify and track down any issues How to repair printed circuit boards? Normally, defects in traces, components, and pads are the causes of a circuit board failure. How to repair printed circuit boards 1 - Repairing broken traces. For repairing the broken/dulled trace, you need to expose the surface area of the original trace using a sharp object to remove the solder mask.
.jpg)
Learn 7 Techniques to Troubleshoot Your Circuit Board Circuit Diagram
Effective troubleshooting and fixing procedures are imperative to restore PCB functionality and maintain optimal performance. Here, we'll delve into a comprehensive guide for diagnosing and rectifying faulty PCB boards. 1. Initial Inspection and Diagnosis. a. Visual Examination: Initiate troubleshooting by visually inspecting the PCB. Look for

Home » Candor Blog » 7 Circuit Board Troubleshooting Techniques. Aug 10, 2022 | PCB Maintenance, Repair and Troubleshooting. Circuit boards, often called PCBs (printed circuit boards), are a vital component of almost every electronic system, and they can cause massive malfunctions with a single problem. A majority of PCB issues can be To troubleshoot a PCB, start by mapping out the circuit board and visually inspecting all components for damage like burnt traces or broken parts. Use a multimeter to check for shorts or open circuits, and compare the damaged PCB with an identical one.